10 Clever Ways to Maximize Cabinet Storage
Introduction
Implementing effective Kitchen Cabinet Organization Ideas requires a combination of smart hardware choices and systematic item placement. These strategies help homeowners transform chaotic cupboards into functional, accessible spaces that maximize every square inch of available storage.
This guide covers practical methods for optimizing your storage, ranging from the use of shelf inserts to specialized bins for pantry items. You will discover how to select the right dimensions for common organizers, such as bamboo boxes and clip-on baskets, to ensure they fit your specific cabinet layout. We also explore techniques for maintaining an orderly kitchen through zone-based storage and ergonomic planning. By following these recommendations, you can create a streamlined environment that simplifies your daily cooking routine while making the most of your existing cabinetry.
Optimizing Kitchen Cabinetry for Daily Efficiency
Efficient kitchen storage transforms your daily workflow by minimizing unnecessary movement and ensuring that essential tools remain within easy reach. When you intentionally arrange your space, you eliminate the friction of searching for items, turning a chaotic environment into a streamlined and functional hub for cooking.
Thoughtful organization is the foundation of a productive culinary space. By applying specific Kitchen Cabinet Organization Ideas, you can reclaim wasted gaps and establish a logical flow that matches your cooking habits. A well-ordered kitchen reduces mental clutter and saves time during every meal preparation.
Achieving this level of order relies on understanding how your cabinets function in real-world scenarios. Many homeowners find that simple adjustments to how items are tiered or segmented make a significant difference. Consider these foundational approaches to enhancing your storage:
- Installing shelf risers to double the usable height of your cabinet interiors.
- Using clear containers to maintain visibility of dry goods and pantry staples.
- Grouping items by frequency of use to prioritize accessibility for daily tasks.
- Implementing vertical dividers to keep baking sheets and cutting boards upright.
When you start small, the cumulative effect of these changes is substantial. Maximizing vertical cabinet space is often the first step in creating a kitchen that feels more spacious without the need for structural renovations. Whether you are dealing with a compact layout or a generous pantry, the goal remains the same: to create a system where every tool has a designated home.
Focusing on ergonomics ensures that your organization strategy supports your physical comfort as well. Placing heavy items in lower, easy-access drawers and keeping frequently used items at eye level reduces strain. This method of categorizing your belongings turns your storage into a supportive partner in your daily routine.
Embracing a systematic approach to your cupboards simplifies upkeep and keeps the space tidy over the long term. Once you implement these changes, you will notice that maintaining a clean kitchen becomes an effortless habit rather than a daunting chore. By prioritizing functionality, you create a home environment that feels both professional and welcoming.
Decluttering Kitchen Cabinet Shelves
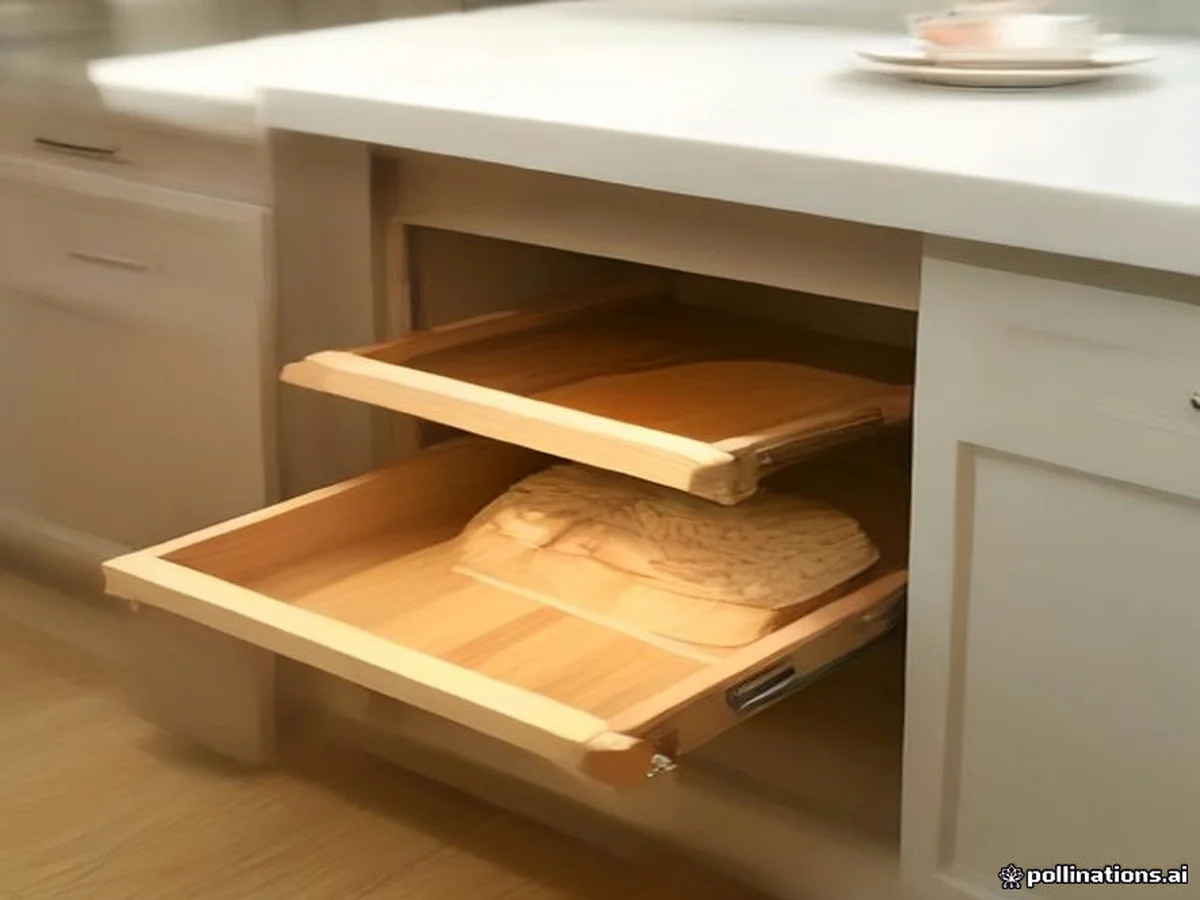
You declutter your kitchen cabinet shelves by mapping out your daily workflow and clearing items that disrupt your efficiency. Start by identifying high-traffic zones, such as the area near the stove or sink, where you spend the most time during food preparation. Keeping your most-used tools and ingredients in these primary zones prevents unnecessary movement and keeps your workspace functional.
Categorizing items by frequency of use is the most effective approach for maintaining order. Group your belongings into three tiers: daily essentials, occasional tools, and rarely used appliances. Daily items should occupy the easiest-to-reach shelves or the front of your drawers, while seasonal or specialized tools can move to higher or lower cabinet levels.
When selecting Kitchen Cabinet Organization Ideas, ergonomics play a critical role in your physical comfort. Place heavy items, such as large pots or stacks of plates, between waist and chest height to avoid straining your back. Lighter or less frequently used items are better suited for top shelves, while heavy, bulky appliances often work best in lower cabinets where you can slide them out easily.
Adjust your storage strategy based on the primary user in the home. Taller individuals may find high shelves accessible, whereas shorter users should prioritize drawer space and lower shelving to maintain a safe, ergonomic reach. Consider these practical tips for optimizing your space:
- Use shelf inserts to create additional levels for stacked plates.
- Install clip-on baskets to utilize unused vertical space beneath existing shelves.
- Store dry goods in consistent, stackable containers to maximize density.
- Keep heavy items at counter level to minimize lifting and reaching.
As common guidance, tools like shelf inserts typically come in dimensions around 12 5/8 by 11 by 6 1/4 inches, which helps in planning your layout. If you are looking to refresh your kitchen, common practice suggests that seasonal promotions, such as discounts on kitchen purchases, often occur throughout the year, allowing you to invest in organizational hardware affordably. By focusing on your specific physical needs and your daily cooking habits, you create a kitchen environment that remains tidy and easy to navigate long after your initial cleanup.
Maximizing Vertical Cabinet Space
You can effectively double your storage capacity by utilizing the empty air above your items with shelf risers and under‑shelf organizers. These simple additions transform high, underutilized gaps into functional layers, allowing you to stack dinnerware or pantry staples without creating unstable piles.
When selecting shelf inserts, it is helpful to keep common dimensions in mind to ensure a proper fit within your existing cabinetry. For instance, many people utilize inserts like the VARIERA shelf insert, which typically measures 12 5/8 × 11 × 6 1/4 inches. This size is well‑suited for standard kitchen cupboards, providing a sturdy platform for stacking plates or bowls.
Beyond traditional risers, you can reclaim dead space hanging directly beneath your existing shelves. Under‑shelf racks slide onto your fixed cabinet shelves, creating a suspended storage area perfect for thin items like napkins, snack bags, or lightweight containers.
- Integrate shelf risers to create an immediate second tier for cups and mugs.
- Measure your internal cabinet height before purchasing inserts to ensure you maintain enough clearance for your tallest items.
- Position heavier items on the base level of the cabinet to maintain structural balance.
- Install under‑shelf racks to hold flat or lightweight pantry goods that do not require a full shelf footprint.
- Group similar items by height to make the most of the vertical gap created by each shelf organizer.
- Check that your cabinet doors can still close completely after adding any depth‑increasing accessories.
By implementing these cabinet shelf organizers, you create a more logical flow within your kitchen. The goal is to ensure every square inch of height serves a purpose, preventing the common frustration of buried items at the back of a deep shelf. This approach keeps your most‑used tools within reach while keeping the countertops clear for meal preparation.
Drawer Optimization Strategies
Achieving a highly functional kitchen relies on how you manage your drawer space. Drawer dividers are essential for small kitchen cabinet organization, allowing you to create custom-sized compartments that prevent cutlery and utensils from sliding around. When choosing inserts, consider the specific dimensions of your tools. For instance, bamboo storage boxes can offer a versatile solution, with typical options measuring approximately 9 1/2 by 12 1/2 by 6 inches, providing a sturdy framework for grouping items by category.
To maximize vertical depth without creating a cluttered mess, internal drawer-within-a-drawer systems are highly effective. This design uses a shallow upper tray that slides over a deeper lower section, effectively doubling your usable surface area. This tiered approach is ideal for storing measuring spoons, gadget attachments, or specialty tools that are otherwise difficult to locate in a deep drawer. A common mistake is failing to account for the height of the items in the lower section, so measure your deepest kitchen tools before installing tiered components.
Beyond internal fittings, consider specialized accessories to extend the utility of your cabinets. Clip-on baskets, which typically measure around 14 1/8 by 10 1/4 by 5 1/2 inches, can be attached to the top edge of a drawer or cabinet shelf to reclaim lost vertical space. These are perfect for items you reach for daily, such as spice packets or small cleaning supplies. If you are looking for budget friendly kitchen storage, these clip-on options provide a quick way to improve flow without requiring permanent cabinet modifications.
Maintenance is key to ensuring these systems remain effective. Deep drawers are prone to collecting crumbs and stray objects, which can impede the smooth operation of organizers. Establish a quarterly maintenance schedule where you remove all dividers and inserts to wipe down the drawer base. This reset allows you to reassess your storage needs based on changing habits. For those planning larger updates, keep in mind that seasonal promotions, such as potential savings on kitchen purchases during late autumn, can be a great time to invest in comprehensive cabinetry systems. By focusing on visibility and accessibility, you can maintain a high level of efficiency in your kitchen workflow throughout the year.
Installing Pull-Out Cabinet Shelves
Why pull‑out shelves improve kitchen cabinet organization
Deep cabinets often become dead space because items slide to the back and are forgotten. A pull‑out shelf brings the entire depth of the cabinet forward with a single glide, turning a hidden zone into an accessible workstation. This simple motion reduces the time spent searching for spices, cans or baking sheets and supports the kitchen pantry organization tips many homeowners seek. By keeping frequently used items within arm’s reach, the shelves also help maintain a tidy countertop, which is a core goal of budget friendly kitchen storage strategies.
Step‑by‑step installation guide
- Measure the interior. Use a tape measure to record width, height and depth. Confirm there is at least a two‑inch clearance for the slide tracks; this avoids the common mistake of buying hardware that binds against the cabinet side.
- Select compatible hardware. Most pull‑out kits use standard 12 mm drawer slides, but verify the track length matches your cabinet depth. When the shelf will hold heavier items such as large pots, choose a full‑extension slide rather than a partial one.
- Prepare the cabinet. Remove existing shelves, clean debris and level the interior. If the cabinet has uneven walls, insert a thin shim before attaching the tracks to keep the shelf level.
- Attach the slides. Secure the lower track to the cabinet bottom with screws that match the pre‑drilled holes. Align the upper track on the shelf and fasten it firmly; a misaligned track is a frequent source of squeaking.
- Test the glide. Slide the shelf in and out several times. Adjust the screws if the movement feels stiff or if the shelf tilts.
- Customize the storage surface. Place IKEA 365+ dry food containers (available in 44 oz and 2 qt sizes) on the shelf for dry goods, and add a VARIERA insert, typically 12 5/8 × 11 × 6 1/4 inches, to create smaller compartments for snacks or baking supplies.
Common mistakes and how to avoid them
- Installing the hardware without checking for level can cause the shelf to sag, making it difficult to pull out fully.
- Overloading a single pull‑out with heavy cookware can strain the slides; instead, dedicate a lower tier for bulk items and keep lighter containers on the upper tier.
- Neglecting to label containers. Applying clear labels to the front of boxes or to the UPPDATERA bamboo storage boxes (about 9 ½ × 12 ½ × 6 inches) lets you identify contents without fully extending the shelf.
This system works well for a range of users. Renters who cannot alter cabinet interiors can still add a surface‑mount pull‑out kit, while homeowners planning a remodel may integrate the shelves into new cabinetry for seamless design. For those with limited vertical space, combine pull‑outs with lazy Susans or under shelf racks to maximize every inch.
By placing everyday spices, cooking oils and snack bins on the top pull‑out level, you streamline daily prep and keep the pantry tidy. Start with high‑traffic cabinets, such as the one above the dishwasher, to see the greatest efficiency boost. Once the system is in place, a quick weekly wipe of the tracks and a check for loose screws keep the hardware operating smoothly, extending the life of your small kitchen cabinet organization solution.
Budget Friendly Cabinet Upgrades
Why focus on modular accessories?
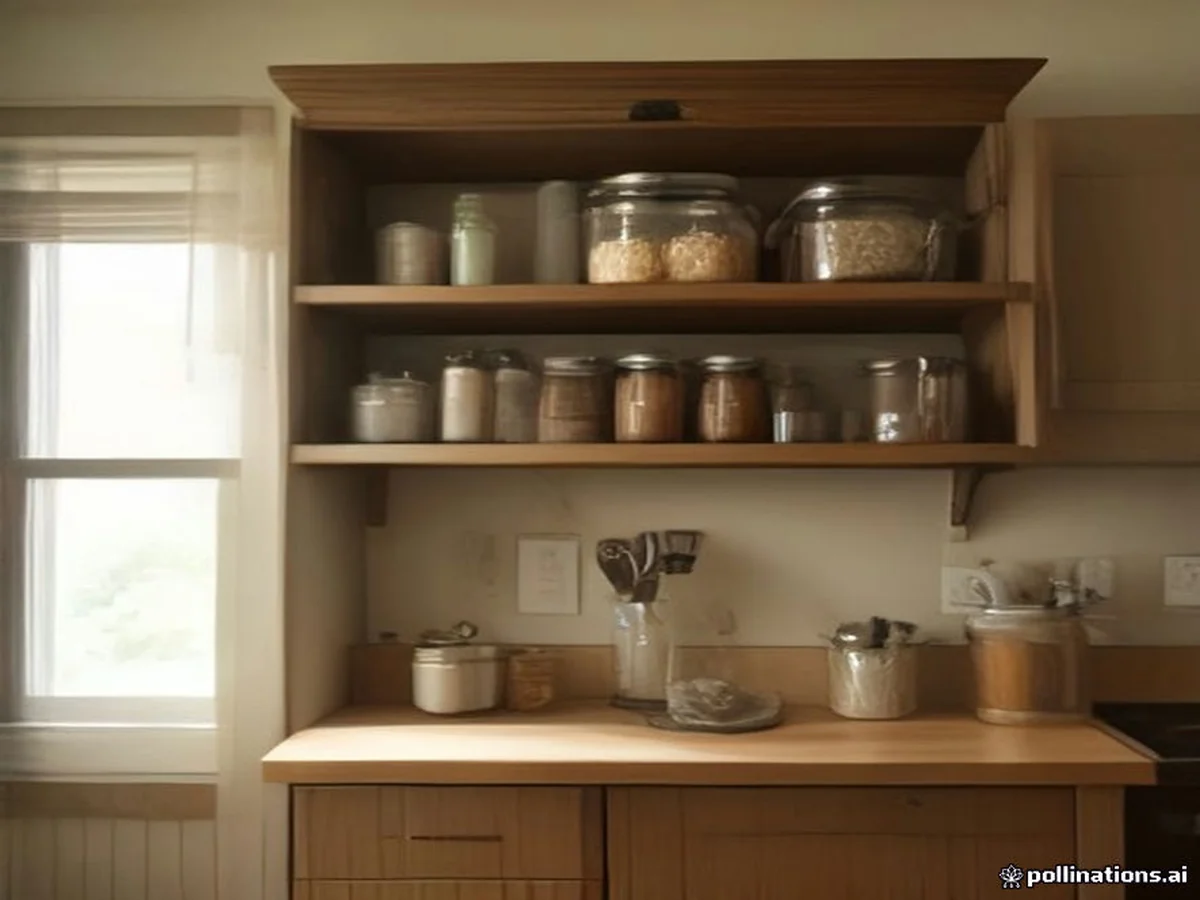
Small kitchen cabinet organization often stalls because the interior space is under‑utilized. Adding clip‑on baskets, shelf inserts or tension rods creates defined zones without the expense of a full remodel. Modular accessories are lightweight, easy to install, and can be rearranged as needs change, which makes them ideal for renters or homeowners who want a flexible solution. By turning unused vertical space into usable storage, you reduce countertop clutter and improve workflow during cooking.
Step‑by‑step upgrades
1. Assess the cabinet dimensions. Measure the interior width, depth and height of each cabinet. Typical shelf inserts such as the VARIERA model measure about 12 5/8 × 11 × 6 1/4 inches, so confirm that the opening can accommodate this size before purchasing.
2. Add clip‑on baskets for shallow zones. The PÅLYCKE clip‑on basket, commonly sized at 14 1/8 × 10 1/4 × 5 1/2 inches, fits neatly on most shelves. Hang one basket on the side of a cabinet door or on a shelf lip to hold lightweight items like dish towels, wraps or snack bags. This creates a visible “grab‑and‑go” spot and prevents items from sliding to the back.
3. Use tension rods for vertical storage. Place a tension rod inside a cabinet at the desired height and slide baking sheets, cutting boards or serving trays onto it. The rod holds the items upright, eliminating the “stack and crash” problem and freeing floor space for other goods.
4. Insert bamboo boxes for flat items. The UPPDATERA bamboo storage box, typically 9 1/2 × 12 1/2 × 6 inches, works well for plates, bowls or pantry jars. Because the size range for the UPPDATERA plate holder spans 6 to 9 inches, you can match the box depth to the width of your plates for a snug fit.
5. Combine with pull‑out wire baskets or acrylic bins. For deeper cabinets, a pull‑out wire basket slides out on a rail, turning a hard‑to‑reach space into an accessible drawer. Acrylic bins add a clear visual cue for pantry items, making it easier to locate ingredients at a glance.
Common mistakes to avoid
- Choosing inserts that exceed the cabinet depth; this blocks the door from closing fully.
- Overloading clip‑on baskets with heavy cookware, which can strain the clips and cause them to detach.
- Installing tension rods without testing the weight limit; lightweight items are safest.
- Ignoring ergonomic height; place frequently used items at eye level to reduce bending.
Who benefits most?
This approach suits renters who cannot drill or permanently modify cabinets, as well as homeowners looking for a budget friendly kitchen storage upgrade. It also helps small‑space dwellers where every inch counts, and families that need clear zones for kids’ snacks or school supplies.
Timing purchases with promotional periods can stretch the budget further. A common practice is to watch for the IKEA family offer that typically provides a 10 percent discount on kitchen purchases over $3000 between late September and late October. Planning your upgrades during such sales often yields high‑quality organizers for a fraction of the regular price.
| Storage Solution | Key Attribute |
|---|---|
| PÅLYCKE clip‑on basket | 14 1/8 × 10 1/4 × 5 1/2 inches |
| UPPDATERA plate holder | 6 to 9 inches size range |
| IKEA 365+ dry food storage | 44 oz and 2 qt options |
By following these steps, avoiding the listed pitfalls, and selecting accessories that match verified dimensions, you can transform existing cabinets into organized, efficient spaces without a costly renovation.
Common Cabinet Organizing Mistakes
Over‑filling cabinets blocks visibility
When cabinets are crammed, items sit on top of each other and the front of the shelf becomes invisible. This reduces the ability to quickly locate utensils, spices or pantry goods, leading to duplicate purchases and frustration during meal preparation. The problem is especially common in projects where every inch feels valuable. To avoid it, pull everything out, sort by use frequency, and keep only one layer of items on each shelf. Use shallow acrylic bins or a VARIERA shelf insert (approximately 12 5/8 × 11 × 6 1/4 inches) to create separate compartments that maintain an open line of sight.
Ignoring weight limits damages shelves
Many homeowners add heavy dinnerware, cast‑iron skillets, or bulk dry goods to adjustable shelves without checking the load rating. Over time the shelf may bow, the shelf pins can bend, and the cabinet interior finish can crack. The Massachusetts kitchen‑tips guide advises measuring the weight of each item and matching it to the manufacturer’s specifications for the shelf. A practical step is to place a sturdy UPPDATERA bamboo storage box (about 9 ½ × 12 ½ × 6 inches) on lower shelves for heavier items, reserving upper shelves for lightweight dishes or décor.
Storing heavy items out of reach creates safety hazards
Placing bulky cookware or large stockpots above eye level forces users to stretch or climb on stools, increasing the risk of back strain or dropped objects. This mistake is common in kitchens where vertical space is maximized without considering ergonomics. Position the most frequently used heavy items at waist height or lower. Use pull‑out wire baskets or PÅLYCKE clip‑on baskets (roughly 14 1/8 × 10 ¼ × 5 1/2 inches) on the middle shelf so they can be slid out without lifting the entire basket.
Misusing vertical space for fragile or heavy goods
While using the highest cabinet can feel like an easy way to add storage, placing delicate glassware or heavy containers there makes them hard to retrieve safely. Reserve the topmost shelves for seasonal décor, lightweight serving platters, or spare IKEA 365+ dry‑food containers (available in 44 oz and 2 qt sizes). Keep everyday tools, such as a Lazy Susan for spices, drawer dividers for cutlery, or a shelf riser for plates, in the lower and middle zones where they are accessible without strain.
These mistakes affect anyone from renters looking for affordable kitchen storage to homeowners renovating a larger space. By assessing item weight, visibility, and reach, you can redesign each cabinet zone for efficiency and safety, turning cluttered cabinets into organized workstations.
FAQ
How can I make my kitchen cabinets more efficient?
You can significantly increase storage capacity by adding shelf risers and under shelf racks to make use of higher shelves. Grouping items by frequency of use ensures that your most used tools stay within arm’s reach, reducing clutter in compact cabinet layouts.
What kind of inserts help with drawer organization?
Drawer dividers and pegboard systems are effective tools for keeping utensils and cookware neatly separated. When selecting inserts, consider bamboo storage boxes, which often come in practical sizes like 9 1/2 by 12 1/2 by 6 inches, to create custom zones for different kitchen essentials.
How do I keep a pantry tidy?
Maintaining a clean pantry is easiest when you store dry goods in uniform, stackable food containers to save shelf space. Using clear bins allows you to quickly see inventory levels, helping you avoid overbuying and keeping your kitchen pantry organization tips consistent over time.
Are there cost‑effective kitchen storage options?
You can find affordable solutions by utilizing clip-on baskets, such as the common 14 1/8 by 10 1/4 by 5 1/2 inch varieties, to add extra storage to existing shelves without professional installation. Sometimes retailers offer seasonal promotions, such as discounts on kitchen systems for purchases over a certain amount, which can help lower the cost of a full organization project.
What are the benefits of using Lazy Susans?
Lazy Susans are ideal for deep cabinets or corner spaces where reaching items in the back is otherwise difficult. They allow you to rotate your supplies, making it simple to access oils, spices, or canned goods without knocking over other items or creating a mess.
Conclusion
Choose the organization method that best fits your cabinet layout and daily workflow, then install it confidently. Whether you opt for a slim shelf insert, a clip‑on basket, or a custom drawer divider, the next step is to measure the interior space, match the product dimensions, and secure the piece so it stays in place during use. Once everything is positioned, step back, test accessibility, and adjust as needed to achieve a streamlined, functional kitchen.
You might also like: 10 Ideas on How to Declutter Your Home Without Throwing Everything Awa