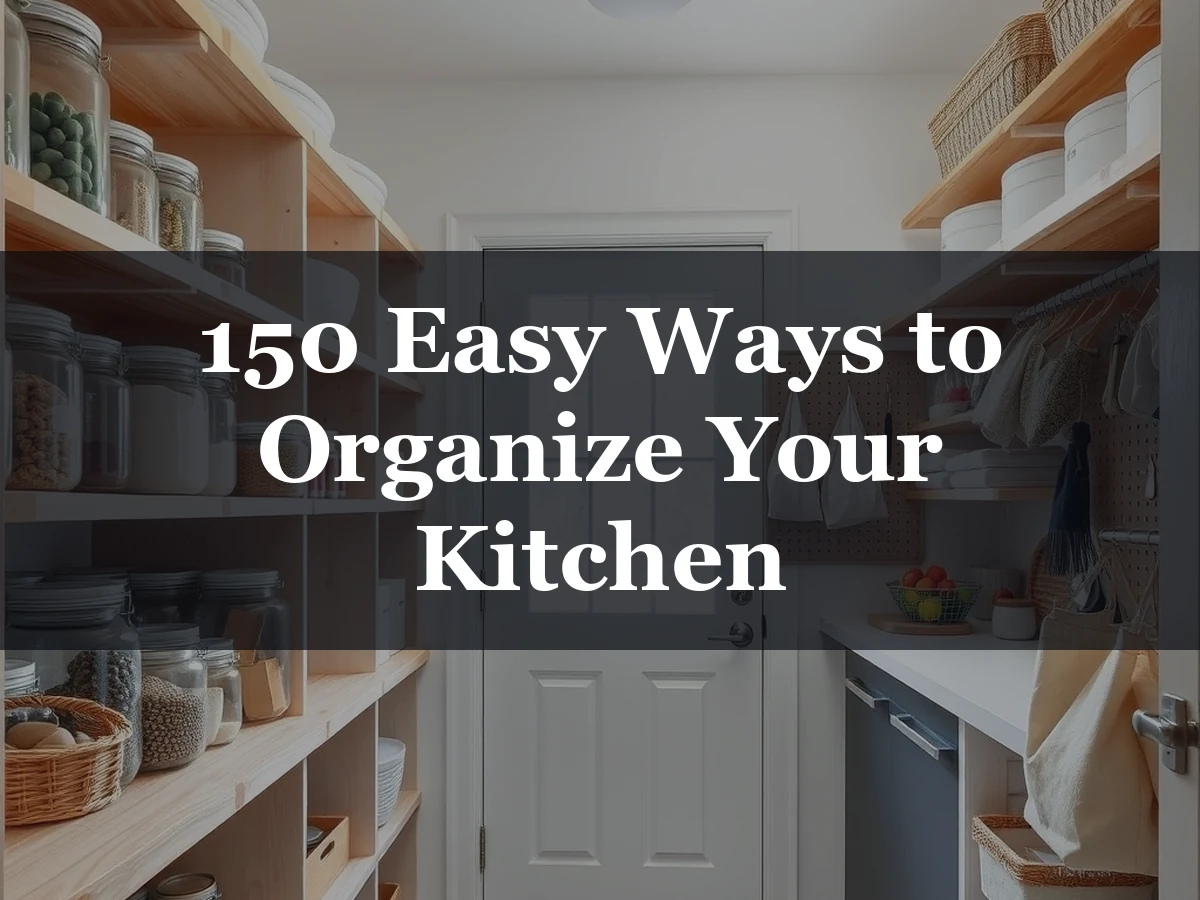
150 Easy Ways to Organize Your Kitchen
Introduction
You can transform your cooking space by implementing these 150 DIY Kitchen Organization Ideas tailored for maximum efficiency. This collection provides actionable, budget-friendly methods to streamline your storage and improve daily workflow.
This guide covers practical approaches to decluttering and optimizing every corner of your room, from specialized pantry storage organization tips to clever cabinet shelf risers. You will discover how to arrange kitchen zones for better preparation, select the right airtight food storage containers for dry goods, and utilize vertical space effectively. We also explore essential safety practices, such as proper weight distribution for heavy appliances and the importance of keeping cleaning supplies away from food items. Whether you are looking for small kitchen organization ideas or seeking comprehensive strategies for managing hardware, these suggestions help create a functional, orderly environment that supports your culinary habits.
Creating an Efficient and Aesthetic Kitchen Environment
Establishing a functional home environment begins with a kitchen that balances visual appeal with daily utility. When you view your culinary space as both a design statement and a high-performance work zone, you transform how you move and interact with your home. Achieving this balance is the core concept behind implementing various 150 DIY kitchen organization ideas.
An efficient workspace relies on intentional design choices that support your habits. Common industry guidance suggests dividing your kitchen into specific workflow zones: preparation, cooking, and cleaning. By grouping your tools and supplies according to these tasks, you significantly reduce unnecessary movement and clutter. This structured approach allows you to maintain a clean aesthetic while ensuring every item has a logical home.
Utility is further enhanced by following ergonomic principles that protect your comfort and safety. For instance, common practice dictates that heavy appliances, such as mixers, should be stored on lower, more stable shelves to prevent tipping or injury. Similarly, placing heavy pots in lower drawers reduces strain and improves access, making your kitchen more user-friendly for everyone in the household.
Safety and longevity of your supplies are also vital components of a well-organized kitchen. According to official food safety standards, humidity-sensitive items like flour and sugar must be kept in airtight food storage containers to prevent clumping and maintain quality. It is also common guidance to store cleaning products away from food items to avoid cross-contamination and to avoid keeping perishable items under the sink where moisture and temperature fluctuations from plumbing can occur.
Finally, spatial awareness plays a significant role in your kitchen’s overall efficiency. Consider the following standards when planning your layout:
- Standard upper kitchen cabinets are typically 12 inches deep.
- Kitchen cabinets generally require at least 15 to 18 inches of clearance above countertops for optimal working space.
- The landing strip rule suggests providing 15 inches of countertop space on the handle side of a refrigerator for easy loading and unloading.
- Magnetic knife strips should be installed at a height that remains unreachable by small children.
By blending these practical considerations with your personal design preferences, you create a space that is as beautiful as it is hardworking. Thoughtful organization turns an ordinary cooking area into a streamlined, stress-free environment that supports your lifestyle.
DIY Kitchen Zone Dividers
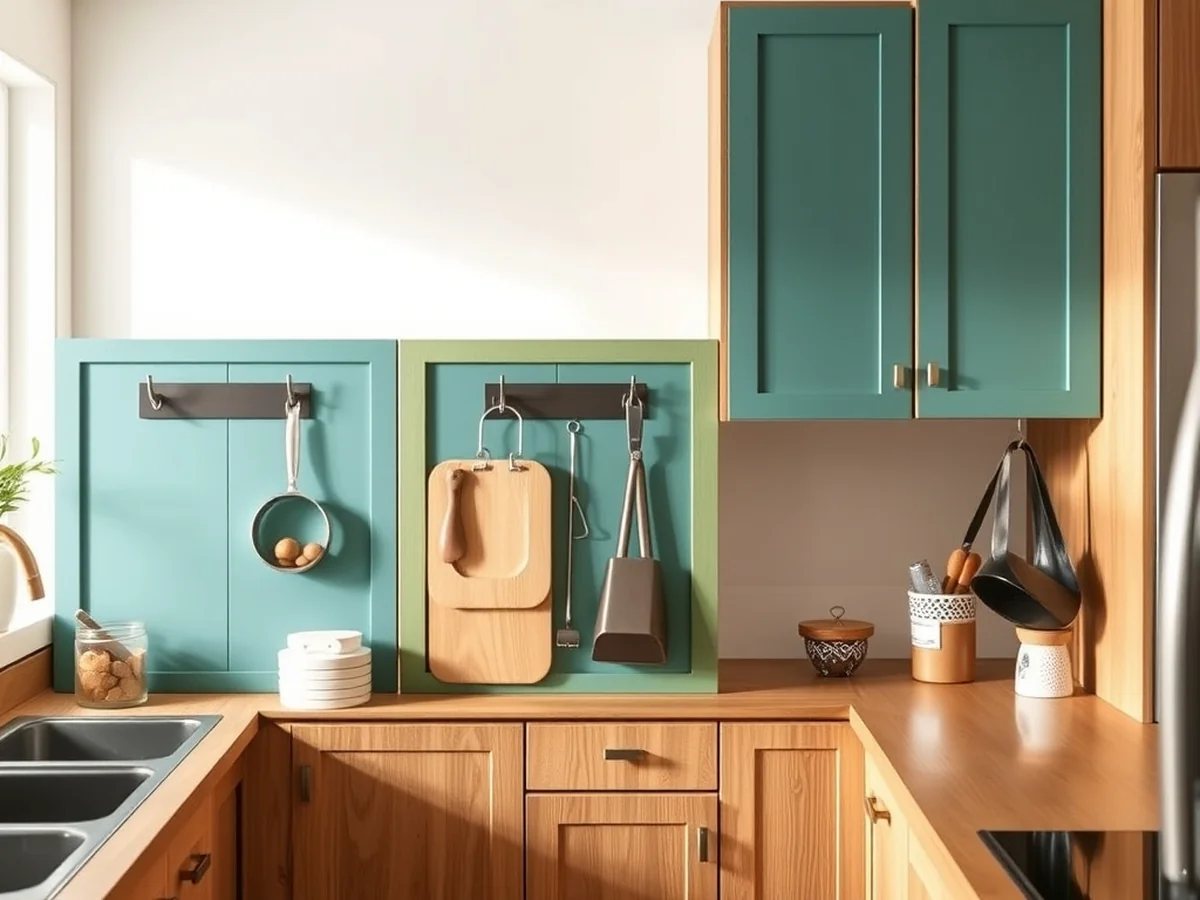
Dividing a kitchen into preparation, cooking, and cleaning zones is the standard for efficient workflow. When each activity has a dedicated area, you reduce back‑and‑forth movement, keep tools where they belong, and make daily cooking feel smoother. The approach works for large family kitchens and compact apartments alike, but the specific layout must reflect the size of the space and the habits of the user.
Why Zones Matter
In a well‑planned kitchen, the preparation zone sits near the refrigerator and pantry, the cooking zone surrounds the stove and oven, and the cleaning zone clusters the sink, dishwasher, and waste bins. This logical flow follows the natural sequence of meal preparation: grab ingredients, cook, then clean. By keeping each step contained, you avoid crossing paths, which can cause accidents and make the space feel cluttered. The arrangement also supports ergonomic kitchen design principles, allowing frequently used items to stay at waist or shoulder height and reducing strain.
Practical Steps to Create DIY Dividers
- Map the triangle. Sketch a simple floor plan and mark the refrigerator, stove, and sink. Draw imaginary lines to connect them, forming the classic kitchen work triangle. This visual helps you see where each zone should sit.
- Apply the landing strip rule. Reserve at least 15 inches of clear countertop space on the handle side of the refrigerator. This space makes unloading groceries easy and prevents items from being stacked on the fridge door.
- Allocate storage by weight. Store heavy appliances such as mixers on lower, more stable shelves or in lower drawers. This placement follows common guidance that reduces the risk of tipping and injury.
- Separate cleaning supplies. Keep cleaning products away from food items to prevent cross‑contamination. A dedicated pull‑out cabinet or a shelf behind the sink works well.
- Use height‑appropriate storage. Place the items you reach for most often at waist height. Upper cabinets should be at least 15 to 18 inches above the countertop to provide comfortable working space, and they are typically 12 inches deep, which is useful when selecting bins or organizers.
- Protect humidity‑sensitive ingredients. Store flour, sugar, and similar items in airtight containers to keep them fresh and free from clumping. This recommendation is verified by the Washington State University extension.
- Install child‑safe knife storage. Mount magnetic knife strips at a height that is out of reach for small children, following common guidance for safety.
Common Mistakes and How to Avoid Them
- Placing perishable foods under the sink. Moisture and temperature fluctuations near plumbing can spoil items, so avoid this location.
- Overloading upper cabinets with heavy pots. Heavy items belong in lower drawers where they are easier to lift and cause less strain.
- Neglecting clearances. Crowding the countertop or stacking items too high can make the workspace feel cramped and hinder movement.
- Relying on corner cabinet turntables as a cure‑all. While they can help, they do not guarantee better access in blind corners and may add unnecessary complexity.
By following these steps, you create a kitchen that feels organized, safe, and ready for any cooking project. The zone‑based layout works for DIY enthusiasts on a budget because most adjustments involve repositioning existing items, adding simple hardware like magnetic strips, or using inexpensive containers. Once the zones are set, maintaining the system requires only a regular sweep to return items to their designated spots and occasional reassessment as your cooking habits evolve.
Optimizing Cabinet and Drawer Storage

Effective kitchen cabinet organization hacks focus on maximizing vertical height and streamlining daily access to your tools. By rethinking how you place items within your existing units, you can create a more functional and ergonomic cooking environment. Whether you are seeking diy kitchen storage solutions on a budget or refining your current setup, the goal is to create a system that remains tidy with minimal effort.
Zone-Based Workflow Planning
Efficiency begins with dividing your space into dedicated kitchen workflow zones: preparation, cooking, and cleaning. By grouping similar tools in these specific areas, you ensure that you can find what you need quickly without searching through cluttered corners. For example, keep cutting boards and knives near the preparation area, and pots and pans near the stove.
Weight Distribution and Safety
When planning your layout, consider the physical weight and nature of your items. Common guidance suggests that heavy appliances, such as stand mixers or cast iron cookware, should be stored on lower, more stable shelves to prevent tipping or injury. Placing heavy pots in lower drawers also reduces physical strain and improves ergonomic access.
Conversely, avoid storing heavy items in high upper cabinets where they become difficult to retrieve safely. Furthermore, it is typical practice to avoid storing cleaning products near food items to prevent potential cross-contamination. Perishable items should also never be stored under the sink, as the plumbing creates moisture and temperature fluctuations that can compromise food quality.
Maximizing Vertical Space
Standard upper kitchen cabinets are typically 12 inches deep, which often leaves significant wasted air space above your dinnerware. You can reclaim this area by using cabinet shelf risers to create secondary tiers, allowing you to stack plates or bowls without overcrowding. If you struggle with how to organize kitchen drawers, drawer dividers are an essential tool to categorize utensils and small tools, preventing items from shifting every time the drawer is opened.
When dealing with dry goods, remember that humidity-sensitive items like flour and sugar are best stored in airtight food storage containers to prevent clumping. This practice ensures your pantry remains efficient and your ingredients stay fresh. For those working with limited square footage, these small kitchen organization ideas help turn cramped cabinets into highly functional storage centers. By prioritizing items you grab daily and keeping them within easy reach, you make your time in the kitchen significantly more enjoyable.
Smart Pantry Storage Strategies

Effective pantry management transforms your kitchen workflow by ensuring ingredients remain fresh and accessible. Integrating 150 DIY Kitchen Organization Ideas into your space starts with how you house your dry goods and staples.
You can optimize your storage area by following these practical, foundational steps:
- Store humidity-sensitive ingredients like flour and sugar in airtight food storage containers to prevent clumping.
- Implement a grouping system for dry goods based on meal frequency or specific product categories, such as baking supplies or breakfast staples.
- Label your containers clearly to maintain a consistent organization system and simplify your routine inventory checks.
- Keep your most frequently used items at eye level to reduce reach time during busy cooking sessions.
- Utilize transparent vessels to provide an immediate visual cue when your supplies are running low.
- Arrange your pantry shelves by height, placing taller items in the back and smaller jars toward the front for better visibility.
Utilizing airtight food storage containers is a verified method for maintaining the quality of your ingredients. By sealing off moisture, you protect staples like flour and sugar from clumping, which keeps them ready for use at any time. This simple change is one of the most effective pantry storage organization tips you can implement to reduce food waste.
Grouping items by how often you reach for them further streamlines your daily cooking. For example, keeping your morning coffee and tea near each other, separate from heavy baking ingredients, saves significant time. This type of zone-based planning aligns with broader ergonomic kitchen design principles by reducing unnecessary movement across the room.
Clear labeling acts as the final step in creating a sustainable system. When every container has a designated place and a visible name, other household members can help maintain the order you have established. This habit removes the guesswork from shopping lists and ensures your kitchen remains a functional, stress-free environment.
DIY Under-Cabinet Storage Hacks

Maximizing the space beneath your cabinetry requires a careful balance between accessibility and safety. When planning your layout, prioritize functional zones while ensuring that hazardous materials and sensitive food items are kept in their appropriate, designated areas.
- Follow common guidance by keeping all cleaning products stored far away from food items to prevent any risk of cross-contamination.
- Avoid placing perishable food items in under-sink areas, as moisture and temperature fluctuations from plumbing can compromise their quality.
- Install magnetic knife strips securely at heights that remain completely unreachable by small children to maintain a safe environment.
- Use lower drawers for heavy pots and pans to reduce physical strain and improve your ergonomic access during daily cooking.
- Store heavy appliances like mixers on lower, more stable shelves to prevent them from tipping over or causing potential injury.
- Keep humidity-sensitive ingredients like flour and sugar in airtight food storage containers to effectively prevent clumping and maintain freshness.
Effective kitchen cabinet organization hacks often involve reassessing the contents of your lower cupboards. While it is tempting to fill every available inch, focusing on the specific needs of your items will lead to a more efficient workflow. Always consider the proximity of your storage to your main kitchen workflow zones, such as your primary preparation and cleaning areas. By grouping similar tools and ingredients together, you naturally create a more intuitive space for your daily tasks.
When selecting materials for your storage upgrades, look for options that withstand the unique environment of a kitchen. If you are working with standard upper cabinets, remember that they are typically 12 inches deep, which influences the size of bins or organizers you can fit inside. For those looking for diy kitchen storage solutions on a budget, simple tension rods or adhesive hooks can often provide the extra utility you need without requiring a major renovation. Always double check that any additions do not interfere with the smooth operation of your cabinet doors or drawers.
Small Kitchen Organization Solutions

Maximizing a compact footprint requires a blend of vertical storage and high-utility design choices that keep essential tools accessible without overwhelming the room. By focusing on wall-mounted hardware and adaptable furniture, you can reclaim valuable surface area while maintaining a clean, professional aesthetic. Implementing small kitchen organization ideas starts with a clear understanding of your physical constraints and ergonomic needs.
Designing for Workflow and Safety
When planning your layout, keep common guidance regarding clearance in mind. Maintaining at least 15 to 18 inches of vertical space between your countertops and the underside of upper cabinets is essential for creating a comfortable workspace. This buffer ensures you have enough room to operate small appliances or perform food preparation tasks without feeling cramped. Additionally, the standard practice of dividing kitchen zones into preparation, cooking, and cleaning areas helps establish an efficient workflow. Avoid the common mistake of storing perishable items under the sink, as potential moisture and temperature fluctuations from plumbing can compromise food safety.
Optimizing Cabinet and Counter Space
Strategic storage goes beyond simple decluttering. To improve accessibility, place heavy appliances like mixers on lower, more stable shelves to prevent tipping or injury. Similarly, heavy pots should be kept in lower drawers to reduce physical strain and improve ergonomic access. While many look to corner turntables for deep cabinets, these can sometimes be less efficient than pull-out organizers; evaluate your specific corner space before committing to hardware. For pantry storage organization tips, remember that humidity-sensitive items like flour and sugar are best stored in airtight food storage containers to prevent clumping and maintain quality, as confirmed by Washington State University Extension research.
Consider these practical approaches to enhance your layout:
- Install magnetic knife strips at a height unreachable by small children to keep sharp tools off your limited countertop space.
- Use the landing strip rule by ensuring you have at least 15 inches of countertop space on the handle side of your refrigerator for temporary placement of groceries or dishes.
- Mount pot rails to hang heavy cookware, which clears out deep, awkward cabinets and makes your most essential tools easy to grab.
- Incorporate cabinet shelf risers to double your storage capacity for stacked plates and bowls.
- Keep cleaning products away from food items at all times to prevent the risk of cross-contamination.
By focusing on these specific adjustments, you can create a highly efficient kitchen that feels larger and more orderly. Whether you are looking for diy kitchen storage solutions on a budget or simply want to learn how to organize kitchen drawers, the key is prioritizing items based on daily frequency of use.
Budget Friendly DIY Material Choices
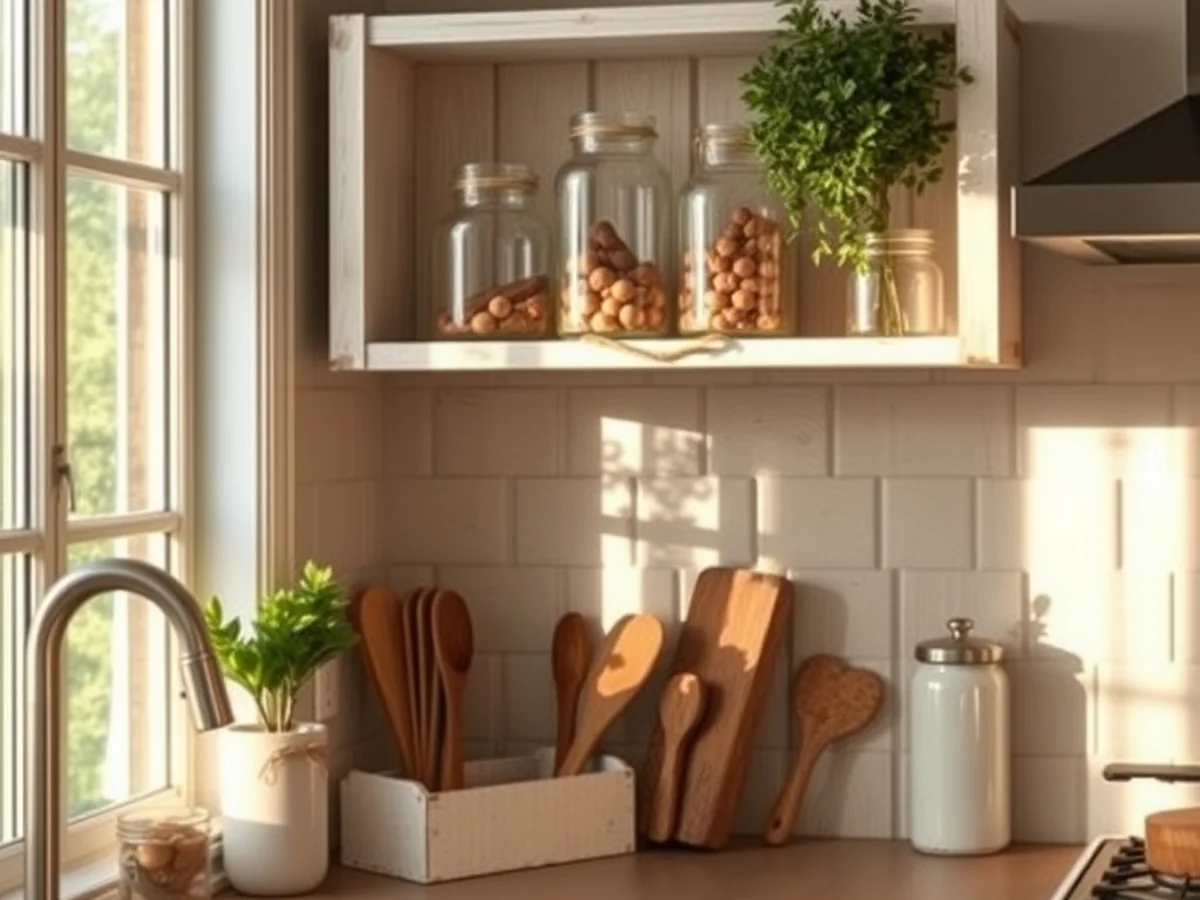
When you plan a kitchen makeover on a budget, the material you select determines both how long the solution lasts and how much you spend upfront. Choosing wisely also helps you follow common kitchen‑organization guidance, such as keeping heavy appliances on lower shelves and avoiding cross‑contamination by storing cleaning products away from food.
Comparing Common DIY Materials
| Material | Durability | Cost |
|---|---|---|
| Bamboo | High | Moderate |
| Plastic | Moderate | Low |
| Metal | Very High | High |
Bamboo is a sustainable option that resists moisture, making it suitable for pantry shelves or spice rack backs. Plastic is the cheapest choice for drawer dividers, but it can crack if overloaded, so it works best for lightweight utensils. Metal provides the strongest support for heavy pots, mixers, or pantry canisters, yet the price reflects its load‑bearing capacity.
Practical Steps for DIY Shelf and Drawer Upgrades
- Measure and plan zones. Divide the kitchen into preparation, cooking, and cleaning areas. This layout reduces unnecessary movement and lets you assign each material to the zone where it performs best.
- Cut to fit. Use reclaimed wood scraps for custom shelf inserts. A simple miter saw or handsaw will give you clean edges that slide into existing cabinet frames without permanent hardware.
- Secure with hardware. For metal brackets or shelf risers, drill pilot holes into the cabinet side panels and use short screws to avoid damaging the interior finish.
- Finish for moisture. Apply a food‑safe sealant to bamboo or reclaimed wood before installation. This step protects against humidity‑sensitive items like flour and sugar, which should be kept in airtight containers.
- Label and adjust. Attach removable labels to plastic or metal drawer dividers. Labels make it easy to reconfigure the layout when you change cooking habits or need more space for new gadgets.
Common Mistakes and How to Avoid Them
- Overloading lightweight materials. Placing heavy pots in plastic dividers can cause breakage and defeat the ergonomic guidance of keeping heavy items in lower drawers.
- Storing the wrong items. Cleaning products should not be stored near food, and perishable foods belong away from the sink to avoid moisture damage.
- Ignoring clearance standards. Standard upper cabinets are typically 12 inches deep, and a countertop should have at least 15 to 18 inches of clearance above it. Ignoring these dimensions can lead to cramped workspaces.
- Neglecting child safety. Magnetic knife strips are convenient, but they should be installed out of reach of small children.
These budget‑friendly material choices and step‑by‑step methods fit both homeowners and renters. Whether you are looking for kitchen cabinet organization hacks, ideas for compact kitchens, or ways to organize kitchen drawers, the combination of bamboo, plastic, and metal lets you tailor each solution to the weight, moisture, and aesthetic needs of your space while staying within a modest budget.
FAQ
What should not be stored in kitchen cabinets?
Cleaning products should not be stored near food items to avoid the risk of cross-contamination. Additionally, avoid keeping perishable items under the sink where plumbing can cause temperature fluctuations and moisture buildup.
What are some of the best kitchen organization ideas?
Dividing your space into specific zones for preparation, cooking, and cleaning is the standard for creating an efficient workflow. You can also improve ergonomics by placing heavy pots in lower drawers and using airtight food storage containers to keep dry goods like flour and sugar from clumping.
What are some good ideas for organizing my kitchen storage?
Start by utilizing vertical space with cabinet shelf risers or installing magnetic knife strips at a height that remains unreachable for small children. Placing heavy appliances on lower, stable surfaces is a common practice that helps prevent tipping and potential injury.
What are 7 steps to organize kitchen cabinets?
Begin by clearing out your cabinets completely to assess your current inventory and remove items you no longer use. Group like items together, install drawer dividers to maximize space, and ensure heavy items are stored on stable, lower shelves. Use airtight containers for pantry staples, verify you have adequate clearance for your workflow, and establish a regular maintenance schedule to keep the area functional.
How do I improve access in deep or corner cabinets?
While a Lazy Susan is often used in blind corners, these structures do not always provide perfect accessibility. Consider using pull-out organizers or sliding racks instead to make reaching items in the back of your cabinets much easier.
Conclusion
The next step in your transformation is to evaluate your most-used zones and select three high-impact projects that address your current storage frustrations. Whether you prioritize installing drawer dividers for better accessibility or moving heavy appliances to lower, stable shelves, starting small ensures long-term success. By applying these 150 DIY Kitchen Organization Ideas, you create a space that balances functional efficiency with your personal aesthetic. Take inventory of your cabinets today and commit to one simple change that will simplify your daily cooking routine.
Sources: wpcdn.web.wsu.edu
You might also like: What Happens If a Range Hood Is Mounted Too High (Loss of Suction)?